The back story: We have a balcony. To be more precise, three of them. Unfortunately, they've been a bit sad and a bit empty so far - which is exactly what we decided to change about them.
So, at the beginning of March, extensive preparations for the biggest makeover an office balcony might ever have seen began.
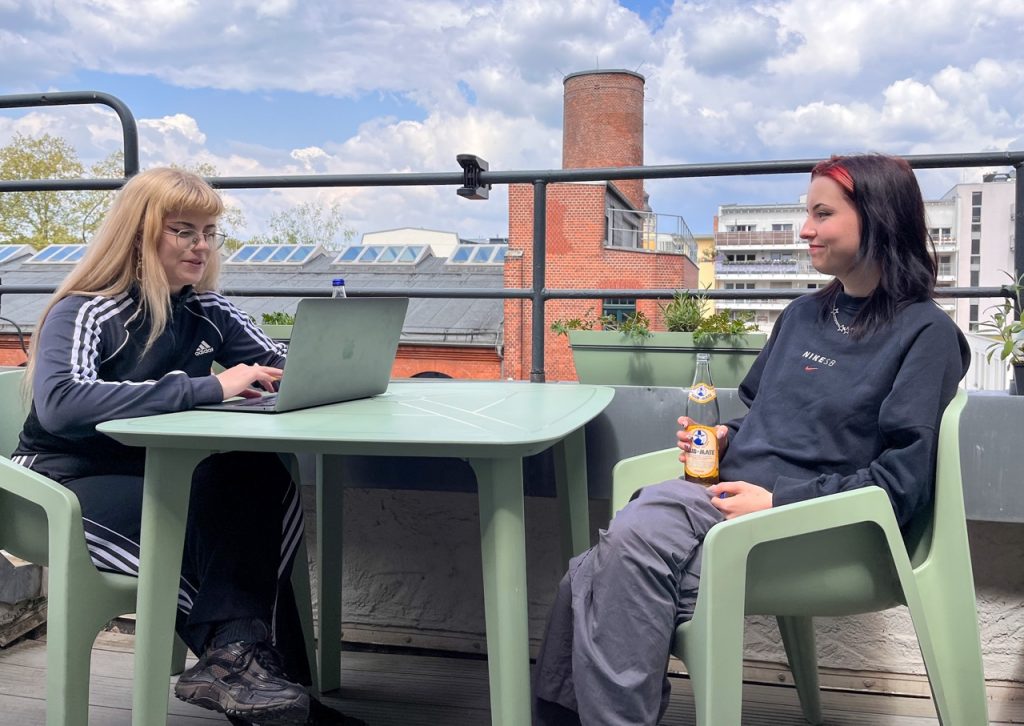
Balki, as we affectionately call it, was thoroughly measured. Ideas were brainstormed on how to shape its future. Idea number one was a relaxation oasis, a place where on hot days you can comfortably sip soda (which you bought using our app for automated beverage billing) and pretend for ten minutes that the approaching deadline isn't actually approaching that quickly.
Idea number two was an outdoor workspace. Similar to a green classroom, where naturally the most 'effective' lessons were held, the green workspace is of course also exclusively for working.
In a democratic process, it was also unanimously decided by all non-smokers that smoking (on this balcony at least) was no longer allowed. But that was not the end of all days, because a workplace can also be designed in an appealing way. And so the preparations continued.
However, we were soon faced with a number of problems.
Problem number 1: The balcony is not exactly a south-facing balcony. So we had to find plants that could get by without much sun.
Problem number 2: We are busy people. Despite all the love for our little photosynthesizing companions, things like watering or fertilizing can get lost in the shuffle. So we also needed plants that could go without water for a while if the worst came to the worst.
Problem number 3: The cold season. We set a goal of stocking the balcony with perennial plants. But that raises the question: How and where to overwinter the plants? Therefore, the plants should be able to withstand colder temperatures.
That certainly made things a bit more difficult, but we accepted the challenge without hesitation. After some research work and sketches for the layout, the game plan was finally set: table, chairs, plant stairs and plant pots were chosen. The sequence of events had been determined. And with that, we moved full of zest for action into the implementation phase.
Step 1: The cleaning
What would a makeover be without some proper basic cleaning? The chosen balcony had not been in active use for a while and was in dire need of a clean-up. For this reason, a week before furniture and plants were to move in, Saskia and Amy set to work with scrubbers and brooms, laying the foundation for a successful transformation.
Step 2: Shopping trip to the hardware store
The table and chairs as well as the plant stairs and balcony boxes were finally delivered to the office. Flowers, potting soil, plant pots and other accessories, on the other hand, had to be purchased personally. A few days before the makeover, Saskia and Amy went to the hardware store. Physically not there, but forever in our hearts: the shopping list, which we developed in painstaking detail and with the utmost care.
And this is how we proceeded: We looked for plants that didn't need a lot of sun or water and, at best, could overwinter outside. We also wanted at least a few bee-friendly specimens. And of course, they also had to look pretty.
Cranesbill and lavender ended up in the balcony boxes. Cranesbill needs regular watering, especially in the first weeks after planting, but is otherwise relatively undemanding. The same applies to lavender, which is also insect-friendly. Sedum and columbine are comfortable in sunny as well as (in the case of fat hen for certain varieties) partial shade locations. Neither requires very frequent watering and both are perennials, so if all goes well, we can enjoy them again next year.
Fuchsias do not tolerate blazing sun and midday heat, which makes them a good candidate for our not-too-sunny balcony. The chosen specimen is even hardy - and blooms in a cute pink, which makes Saskia and Amy especially delighted. So we're happy to forgive it for needing regular watering (ideally even daily).
To 'compensate' for this, we acquired mint, lemon balm and sage as further low-maintenance greenery. All three are perennial, insect-friendly and relatively undemanding.
And with that, the real work could begin.
Step 3 and 4: Construction and planting
For steps 3 and 4, we gathered in the office one beautiful afternoon in late April.
While Amy gave the plants a new home in their pots and planters (and proved: a green thumb can be learned after all), Saskia and Johanna screwed together the table and raised bed in an energy-sapping odyssey.
On the way to finishing the project, we had to put up with a few setbacks: splinters, a tired cordless drill, wooden parts without markings for the screws, and a bombastic disappointment: the raised garden bed turned out to be our final nemesis and was going to occupy our time and attention for a while - the insert for the soil was too small. How fortunate that the planting steps only needed to be unfolded and at least the chairs came in one piece.
Step 5: The work is done 🙂
Two and a half hours later, the time had come: the balcony shone in new splendor. The selected table set and the balcony boxes fit perfectly together. The plants seemed happy, and most of them (except one, which unfortunately passed away) still seem to be. First, of course, we will enjoy our balcony and the hopefully warm, sunny weather. In the future, we then plan to prepare the other balconies to be used as well.